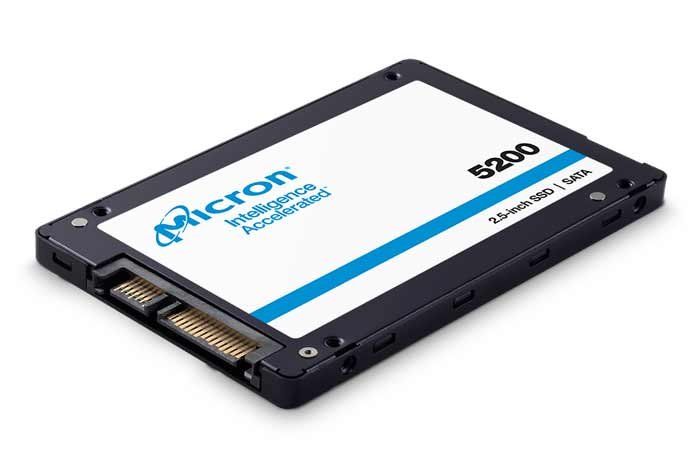
We will show you how to copy or move Windows from HDD to SSD. The move is child’s play with the free tool without reinstallation.
Compared to HDDs, SSDs are extremely fast, energy-saving and, thanks to their low price, have long since become affordable. Many Windows computers feel much faster after switching from HDD hard drive to SSD. The comparatively cheap exchange can make buying a new PC superfluous.
Thanks to the accessories and standardized connections that are often supplied with the SSD, installing the new drive is easy. If you take the opportunity to reinstall Windows, you will not have to worry about moving the operating system and programs for long.
It looks different if you want to transfer Windows, programs and data to the SSD in one go. But there is also a solution for this that works equally for Windows 7, 8.x and 10. You clone the contents of the hard drive to the SSD.

Requirements
The most important component for the whole procedure is of course the SSD. At least during the move you have to connect the hard drive to the computer at the same time. This in turn requires a corresponding, free connection.
Especially compact laptops sometimes only offer a single drive bay. In this case, you can connect SSDs with SATA connection via USB. Use a SATA-USB adapter for this, which you can find online for a few euros.
Alternatively, you can temporarily accommodate the SSD – this takes more time – in a USB hard drive housing. Also, download the free EaseUS Todo Backup tool.
It does the cloning of the hard drive to the SSD and in many cases the free version of the program is sufficient. Only if the free version does not work should you resort to an alternative, for example the home version of EaseUS or Acronis TrueImage (each around 30 euros).
If an M.2 SDD is used, you can use the mainboard slot or use a corresponding M.2 adapter. The presented tool also supports the more modern interface in current versions.
You should also have a Windows recovery DVD ready. You will need this in an emergency for repairs. We have already described how to create a recovery DVD with Windows 10.
Please remember to create a backup of your system and store it in a safe place away from the drives you will be working with. This ensures that you can return to the initial state in the event of problems.
In the gallery below you will find our instructions for a smooth move. Just follow our given steps exactly.


